Ingest
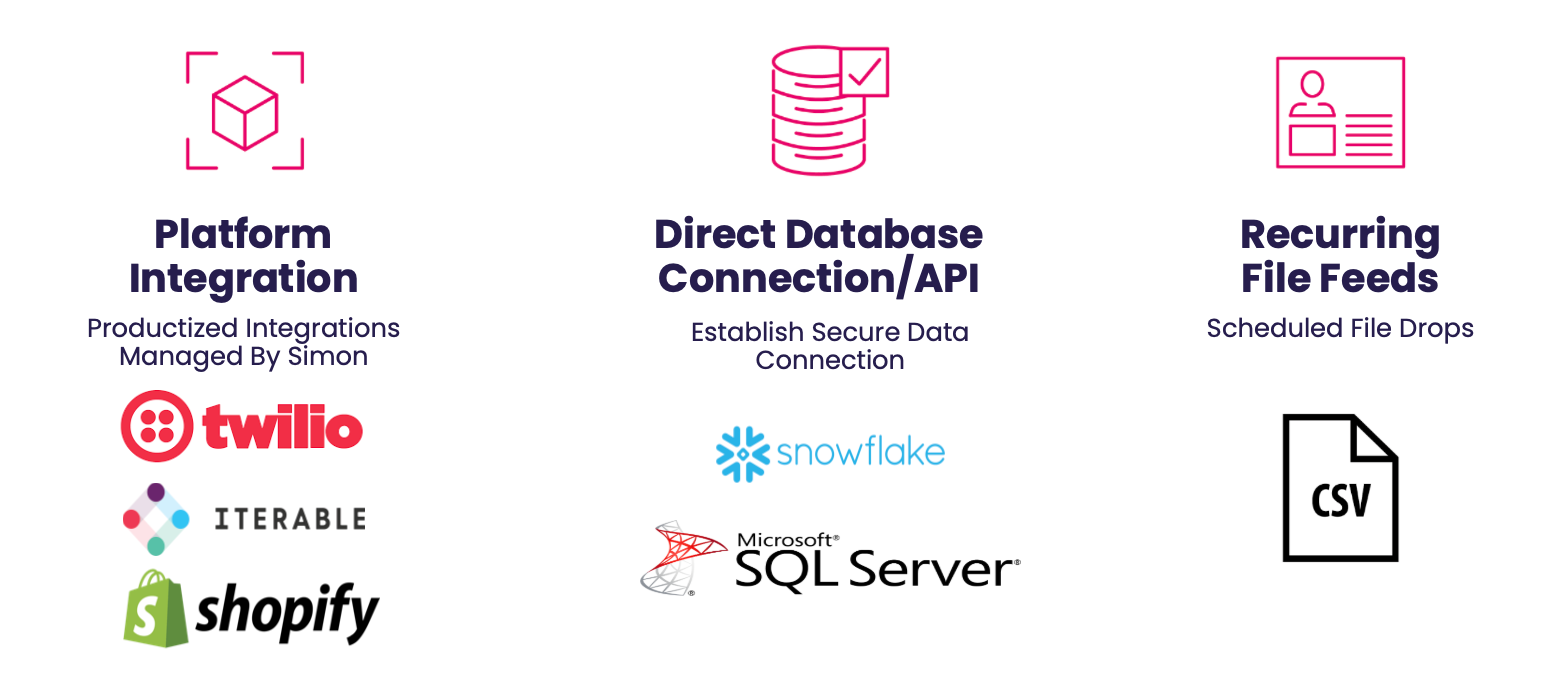
Simon can ingest your data through a lot of different channels, unifying that data for a single view of your customer. We ingest data in two primary ways:
- Batch: Data is ingested once a day from data warehouses and other third party vendors.
- Real-time: We stream data in via first and/or third party tools.
You can combine multiple batch and real-time sources to get that single view of your customer.
We have some in-house tools we use to gather event data, primarily through Simon Signal. We can also leverage webhooks to pull events from nearly any source you offer that you can then use to create the triggers for your marketing campaigns. You can also ingest from a warehouse, from files, Snowflake shares, streaming sources etc. Some of the use cases are pretty specific, but some are based on your preferred methods and current data sources.
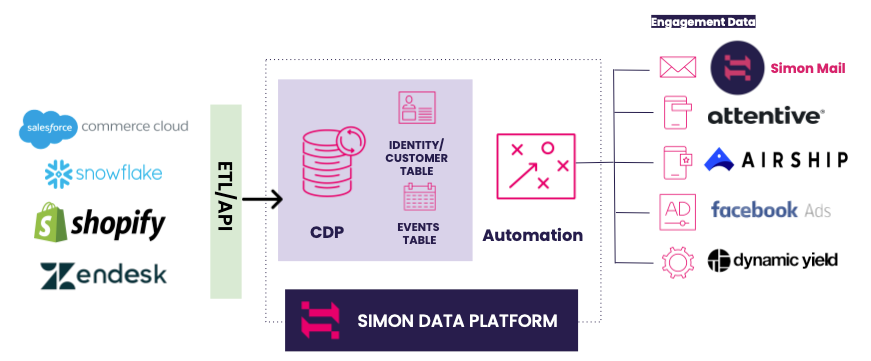
Data ingested upstream is used to trigger personalized marketing campaigns downstream, delivered to customers via many channel options. For example, we may ingest data about your customer's shopping preferences, carts, demographics, etc. via a combination of your database, webhooks, and Simon Signal data. Your end user will then use that data in the Simon platform to create a campaign based on multiple triggers sending your customers personalized messages that drastically increase sales.
Here is one sample architecture:

Egress
Many ingestion sources are also used when you want to push data back out to your customer or analytics, but they're configured separately from ingestion. Common export sources are files, data feeds, etc. Methods and details are provided in the Outbound section.
