Drag and Drop Editor
Simon Mail is an optional premium featureIf you're interested in using Simon's own solution for sending email messages, contact your account manager.
Overview
Use the Simon Mail drag-and-drop editor to quickly build responsive emails without the need for coding (though Custom HTML is an option if you want it). Build custom emails with everything from images to videos, social media links to embedded telephone numbers.
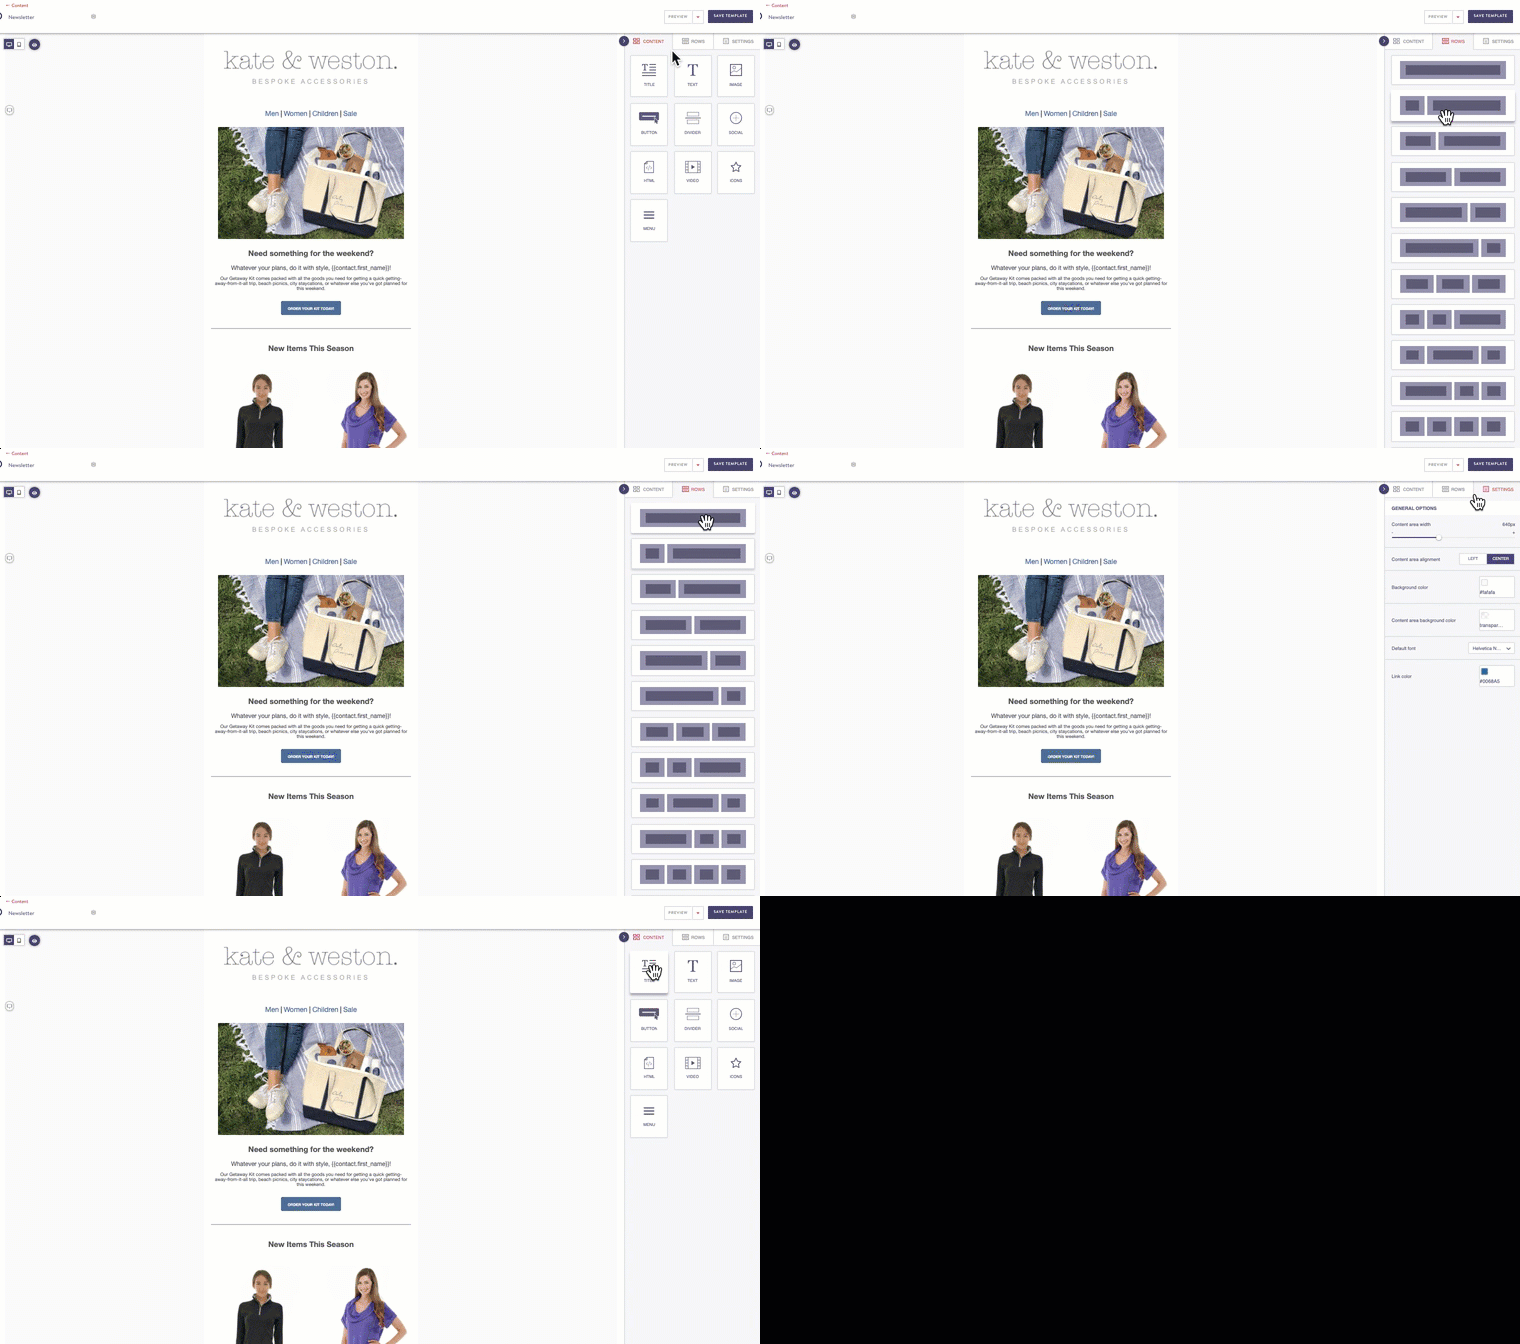
Your messages can be as simple or as complex as you need them to be using the drag and drop editor:

Drag and Drop Editor
Messages are made of rows and columns, filed with content (images, text, links, etc.) The editor allows you to customize these both broadly and very granularly, from general settings down to the smallest row's individual settings.
Pro tipBefore you begin, it's helpful to sketch out your message and consider what content you want to include where. Then build the rows and fill in the content to meet those requirements.
How to navigate the editor
- From the left navigation, expand Campaigns then click Content.
- Choose Drag and Drop Editor.
You can't switch between Drag and Drop and HTML editorsOnce you choose Drag and Drop you won't be able to edit the underlying HTML. However, there is a lot of power in the drag and drop editor to accomplish what you need.
- Choose an existing template to edit or click Create Template to start a new message. The drag and drop editor opens.

Drag and Drop UI
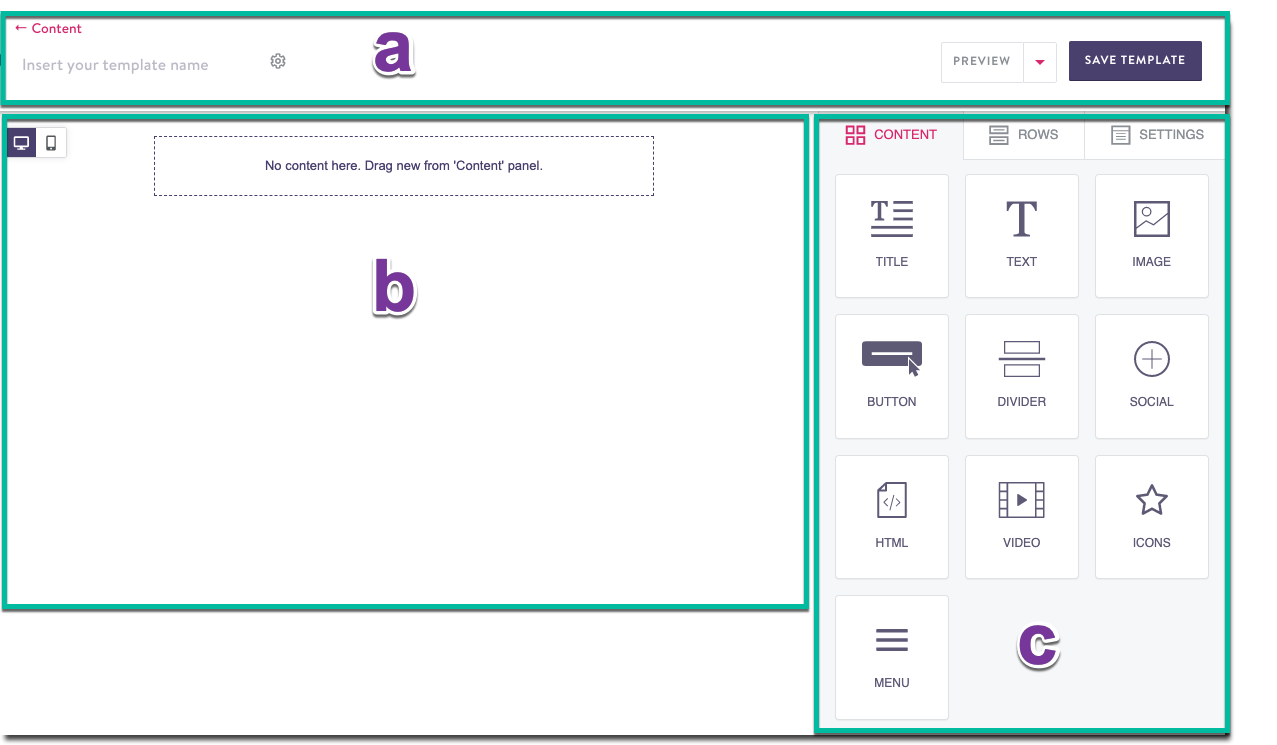
In the drag and drop editor, you'll customize settings on the right using the content, rows, and settings tabs (c).
The left pane contains a staging/preview pane (b) that updates real time as you make your changes.
Save template settings in the header (a).
Use the desktop and mobile icons to switch between the views your recipients will see. Use the eye icon to display or not display any hidden elements (you can choose to hide elements on the mobile or desktop version to make your message more compatible with the device, more on that here).

Toggle between desktop and mobile views
Undo/Redo
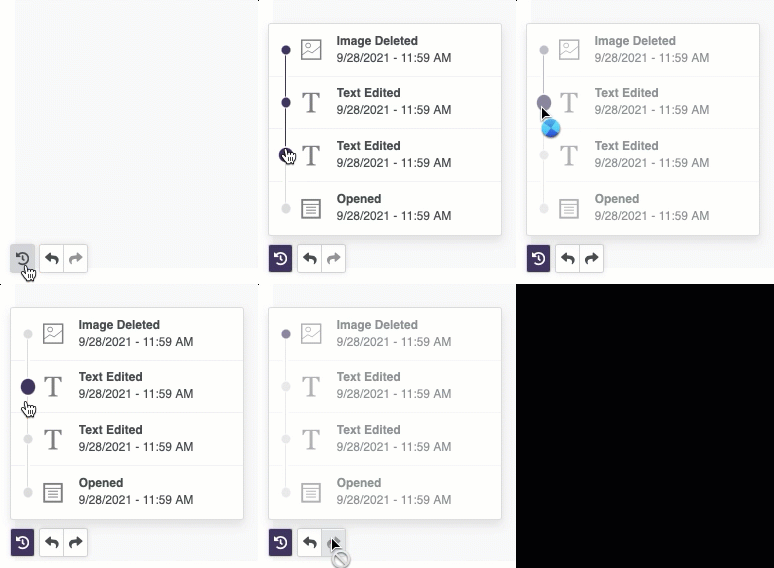
You can also undo or redo any action, or go back or forward a number of steps. Scroll the the far bottom left of the screen and click the round arrow icon:

Comments
You can leave comments in multiple places within the rows, columns, and content. To view all the comments at once, click the small comment icon on the far left:

Comments
Create a template
The basic steps to creating a template with the drag and drop editor are:
- Create a new template and configure template settings.
- From the rows tab, drag some rows with the column layout you need from the rows tab into your message stage. Configure your message settings, then your individual row settings if needed (row settings override message settings).
- Drag content types (text, title, image, etc) into the columns; format them with content properties (colors, spacing, font type, links, etc).
- Save your template and you're ready to use it in a journey or flow!
You can do each of these steps interchangeably until your message is complete.
Of course, there is a lot more customization possible with the drag and drop editor and lots of customizable features to choose from: everything from embedded videos, to specially formatted text, to image editing, to transforming icons with stickers.
Popular topics
To help you get started, we've prepared these documents to walk your through the entire drag and drop editor:
Updated 3 months ago
