
Event based branching
If you selected an event as the criteria for entering your journey, you can customize the journey based on real-time information provided by that event. You can then tailor your marketing approach depending on the specific details associated with the event that caused the contact to enter the journey.
For example, maybe you want to send different incentives or follow-ups to customers based on whether they chose a red 🔴👕 or 🔵👕blue shirt, or 👖pants or 👕shirts. With event based branching, you can do this right from the Journey builder. Branching based on event properties takes into account the data coming in on the event that triggers the Journey.
Why branch based on events?
- Personalization: Events offer valuable insights into your customer's interests. For example, if a customer is browsing specific product pages or adding items to their cart, you can create a branch to trigger personalized emails or advertisements related to those products, increasing the likelihood of conversion.
- Timely Offers: With events, you can react quickly to customer actions. Leverage this data to send targeted offers or promotions based on a customer's recent interactions. For instance, if a customer abandons their shopping cart, you can automatically send a time-limited discount to incentivize your customer to complete their purchase. If they sign up for your newsletter, you can trigger a welcome message immediately.
What's an event?Events are actions your customer takes on your site, that are then sent to Simon where you can use them to filter in segments and campaigns. These events send us metadata that you choose as fields when you create filters.
Field names for this metadata varies depending on your custom events, but in general there are three event types and their descriptions are in the tables linked here:
Use event based branching
1. Add a split
- Create a Journey with an event trigger in the entry criteria .
- Add a branching split.
- A segment split auto-populates. Click Add Event Split first (at least two splits are always needed), then delete the default segment splits as needed:
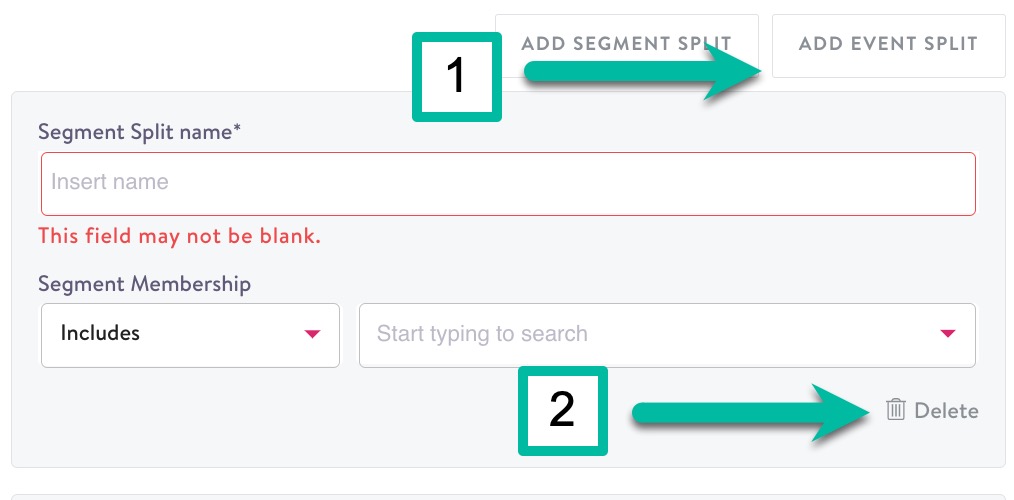
- Name your event split to reflect your goal.
2. Add branching rules
Rule-based branching enables personalized experiences for contacts based on the accumulated knowledge about that contact. It uses a rule-based approach to determine the experience that a contact should receive, and automatically makes sure that contacts will not be included in more than one variant or path of a journey.
Configure these rules using filters and operators to determine which branch to assign contacts to as they enter the Journey nodes. There are many filter options and combinations to customize with, all within the branching node/event split.
Add filters and filter groups like you do when you create segments:
- After adding your event split (see above,) click add filter group.

- Click Add Filter.
- Choose a field. Field options auto-populate in the drop-down based on the event you chose as entry criteria. If you don't see the field you're looking for, you can also manually type it in this box, but keep in mind your choice needs to be a field that is available in the event trigger your chose in your entry criteria.
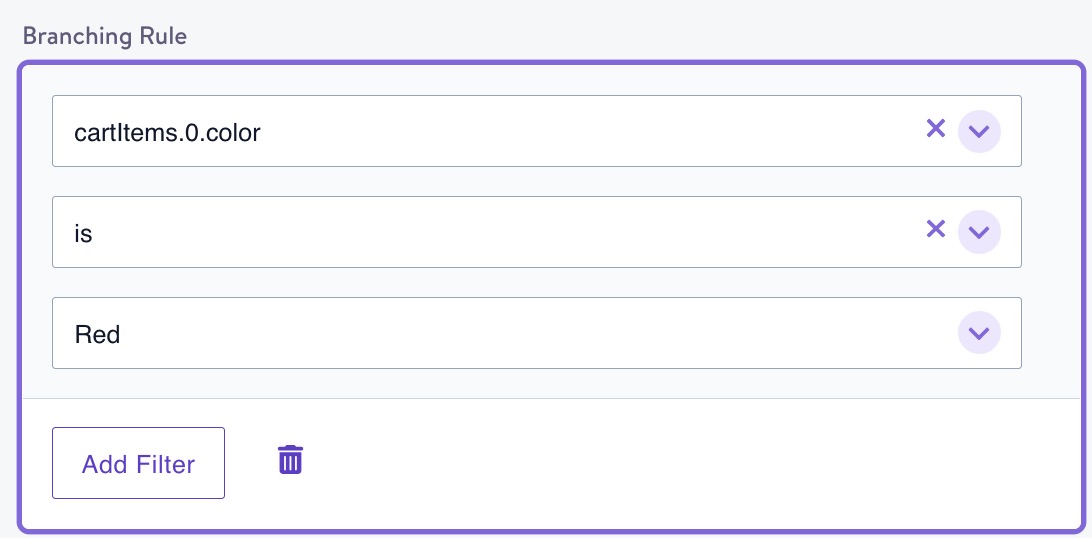
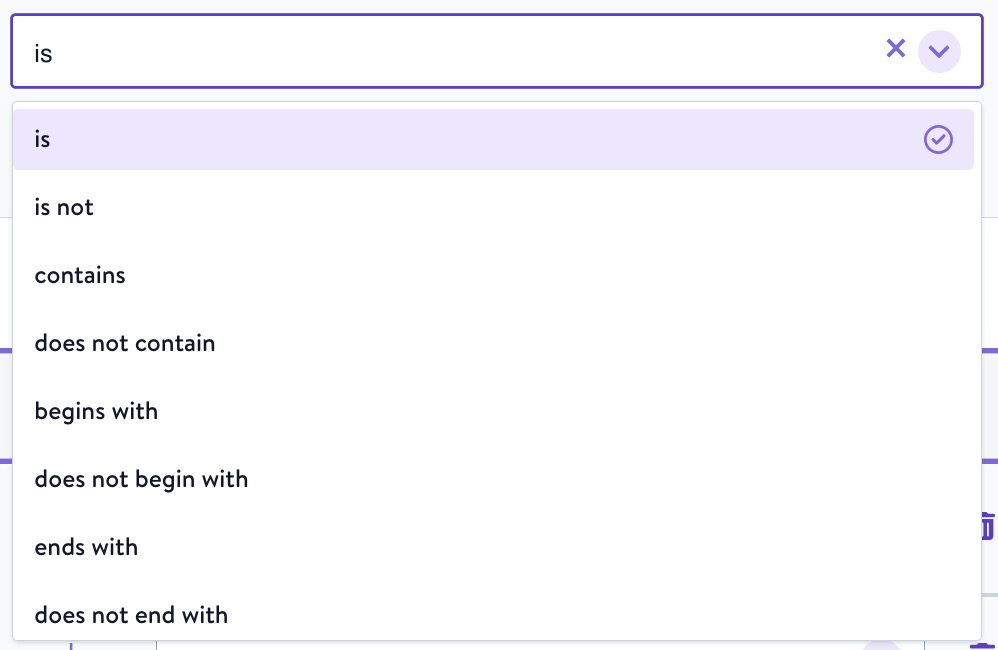
- Choose an operator, then set the value. Operators are the same as those available in segments (see Segment Criteria for definitions). Field options auto-populate in the drop-down based on the event you chose as entry criteria. If you don't see the field you're looking for, you can also manually type it in this box.
- Optionally, add more filters to include in this group. Toggle between and/or logic by clicking on either.
Additional filter groups
You can continue on to create an additional filter group within the same event split node. The logic for groups like this is: (a and/or b) and/or (c and/or d):
- First, a and b will be compared to each other,
- then c and d will be compared
- Last, the result from a and b is compared to the result from c and d.
For example, if you created two filter groups:
- Red shirts or red pants and
- Blue shirts or blue pants
then this branch would include any contacts who chose at least a red shirt or red pant, and also chose at least a blue shirt and a blue pant.
You can then continue to create additional event splits containing their own event filter groups. If a property does not match any of the conditions, including if that property is not available on an event, it will be assigned to the default split.
When you're done, click outside the split panel to return to your Journey.
Branch orderingBranch conditions are evaluated as they appear in the sidebar from top to bottom (or left to right on the canvas). Contacts will be routed to the first branch for which they meet the criteria. All contacts that do not meet the criteria of any preceding branches will be routed to the default branch.
Combine segment and event splits
Additionally, you can combine segment and event splits to create even more customized branching. You can create one split based on a combination of filters and filter groups (like our shirt example above), but then also include a split based solely on segment membership, like a Simon Predict Purchase Likelihood score so you're targeting both customers you know are interested in red shirts and click your emails, but also customers who are likely to purchase -- and you can even use different marketing strategies for each:
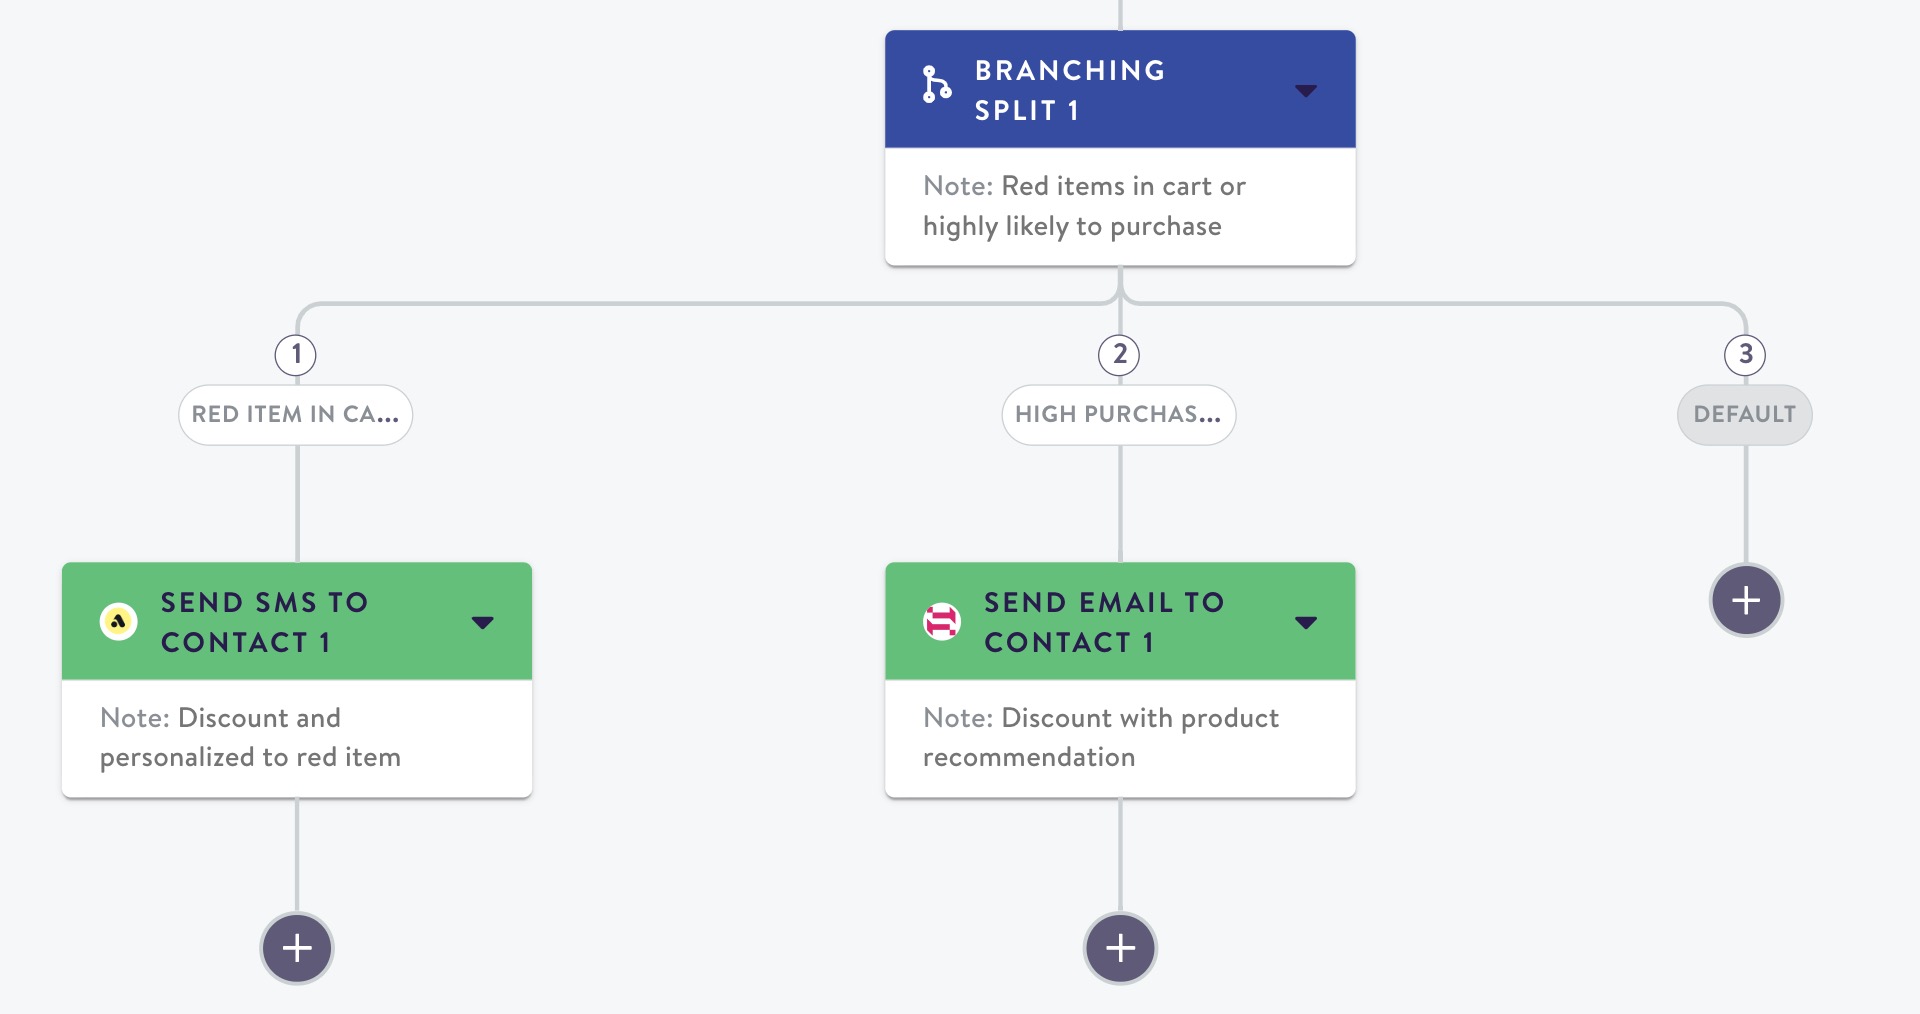
Example Journey with an event split and a segment split
Event based branching vs. Segments
You might wonder why you wouldn't just create a segment with event contact data instead of filtering by events within the journey itself? In short, they serve two different purposes.
- When you create a segment using event contact data, you're creating a view of customers based on records of events that happened in the past. You generally define some lookback condition, e.g. "customer bought a red shirt more than 2 weeks ago".
- When you create an event based branch in a Journey, you're using data that is occurring at the same time that the customer is passing through the Journey node.
Using segment membership to ensure your contact receives only one type of message can be difficult. Often, contacts will meet the criteria to be enrolled in multiple segments. To make segment membership mutually exclusive, definitions must take into account possible membership in other segments. This can cause segments to be overly complex, and make it challenging to identify all possible sources of overlap. With event based branching, a contact can only receive one variation of a message, and thus avoid over-messaging or conflicting experiences.
Updated 8 months ago