Content blocks
Blocks are reusable content that you set up and manage centrally to use in different templates. They can eliminate the need to update a single piece of content in multiple places, such as if you need to update the design of a header. They also let you set up more complex code once to save and reuse it anywhere it's applicable, such as rendering product information based on cart events. If you are familiar with Custom Context, you can think of blocks as Custom Context that are saved outside flows.
Accessing blocks
To get to blocks, click on your email address to reveal the dropdown of options, and then select Content. Then navigate to the Blocks tab. Here, you can access any existing blocks and create new ones, as well as copy and delete blocks.
Once you have set up a block you can use it in templates and other blocks.
Creating and editing blocks
Blocks can contain static text, contact properties, lookups fields and event data. The syntax used for dynamic properties is the same as for Custom Context and templates. You can learn more about this in Custom context expressions.
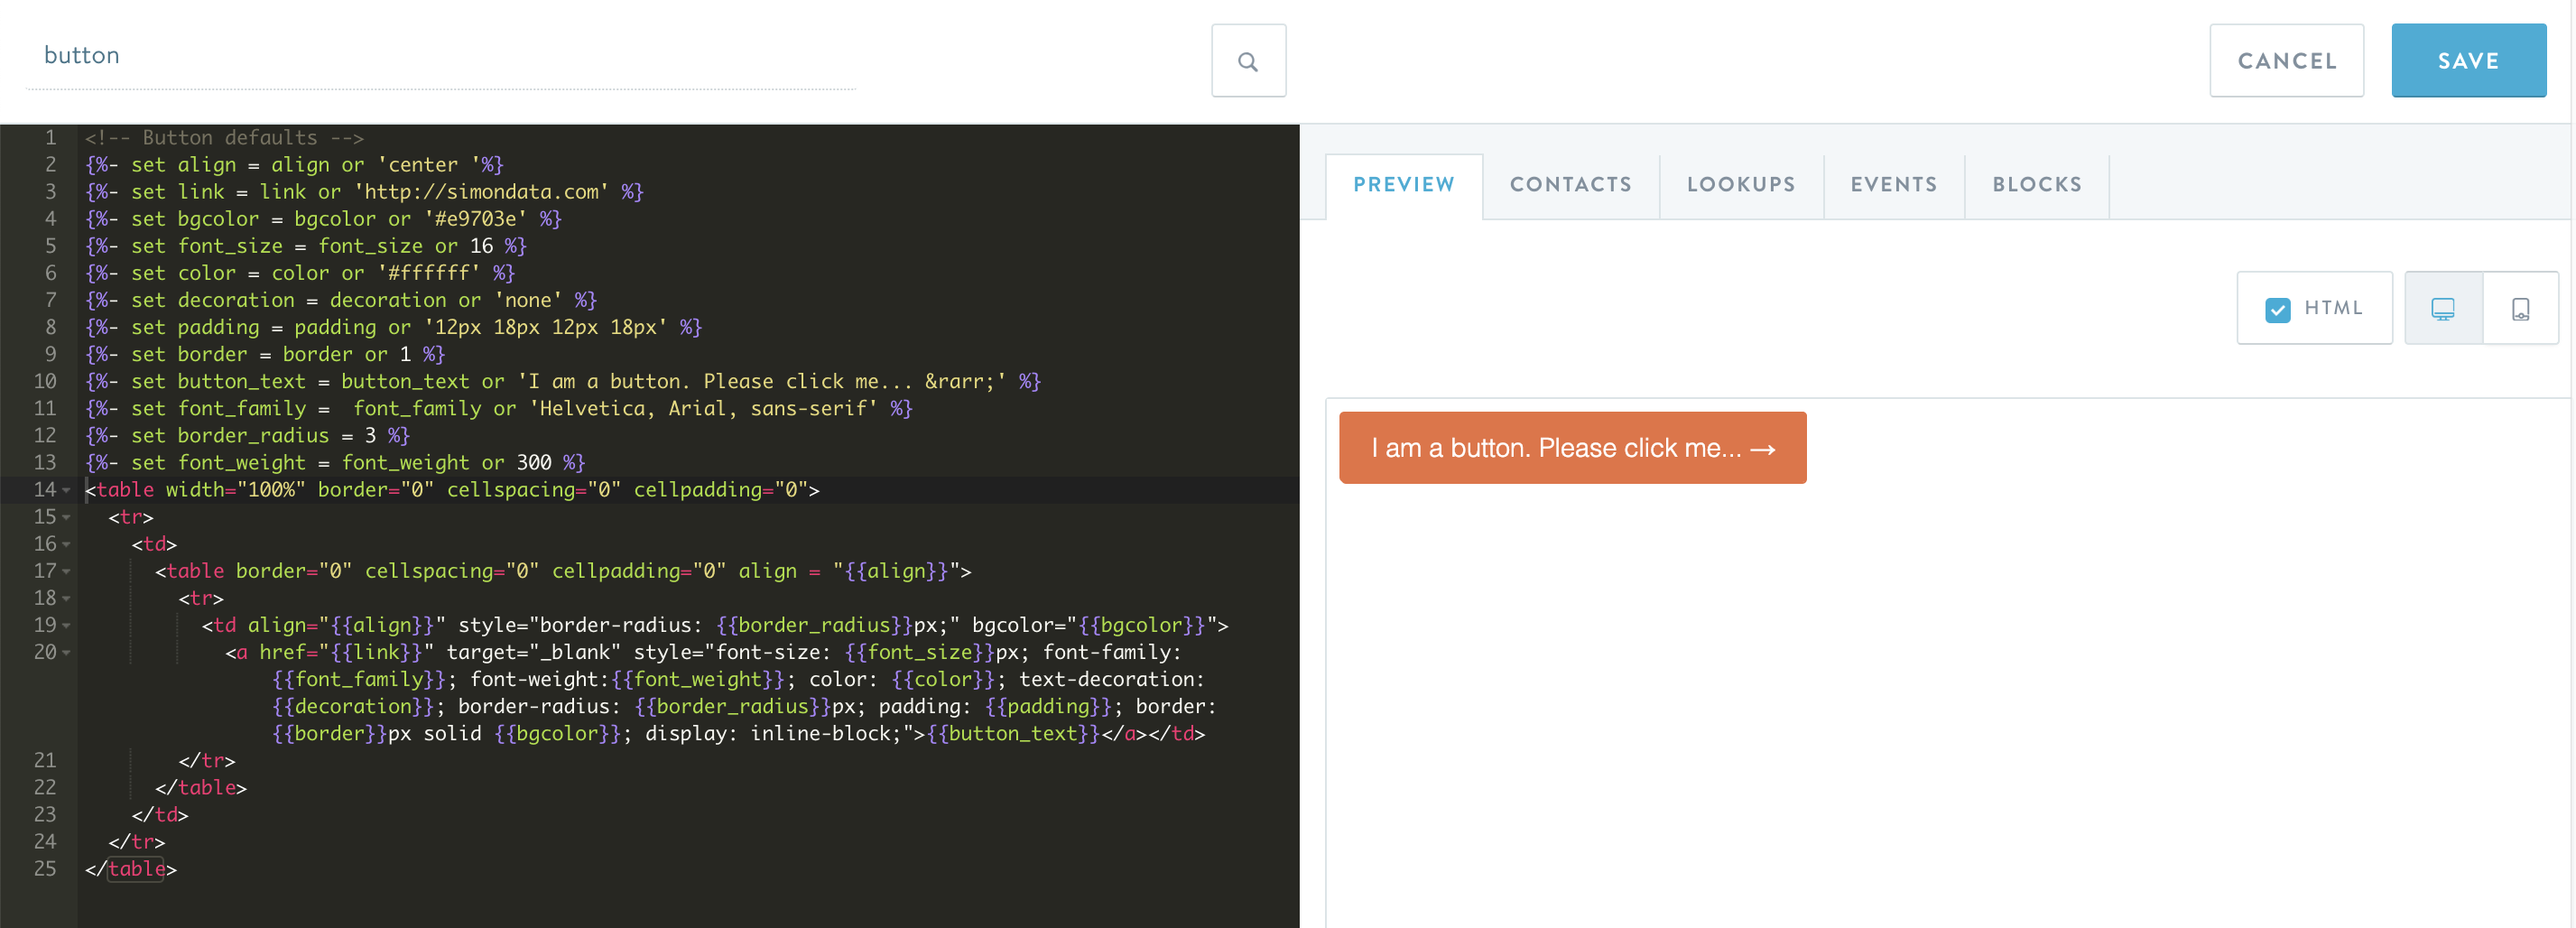
The blocks editor contains a code editor on the left-hand side, and preview and personalization tabs to the right.

The blocks editor
Naming your blocksBlocks will be referred to by their name in other content, and each one requires a unique name with no spaces. Using a descriptive name will make your templates more readable.
Preview and sample contacts
When you enter content in the code editor, the preview panel tab will show you how that content will render. You can toggle between rendering the content as HTML and viewing the text output. The code editor and the preview give you all you need to work with static content, but the Contacts, Lookups and Events tabs play an important role for dynamic content.
Contact properties
You can work with contact properties inside blocks for dynamic personalization. Clicking on a contact property will insert the code required to retrieve that property where the cursor is placed in the code editor. You can use contact properties both as conditional statements and to present them as content.
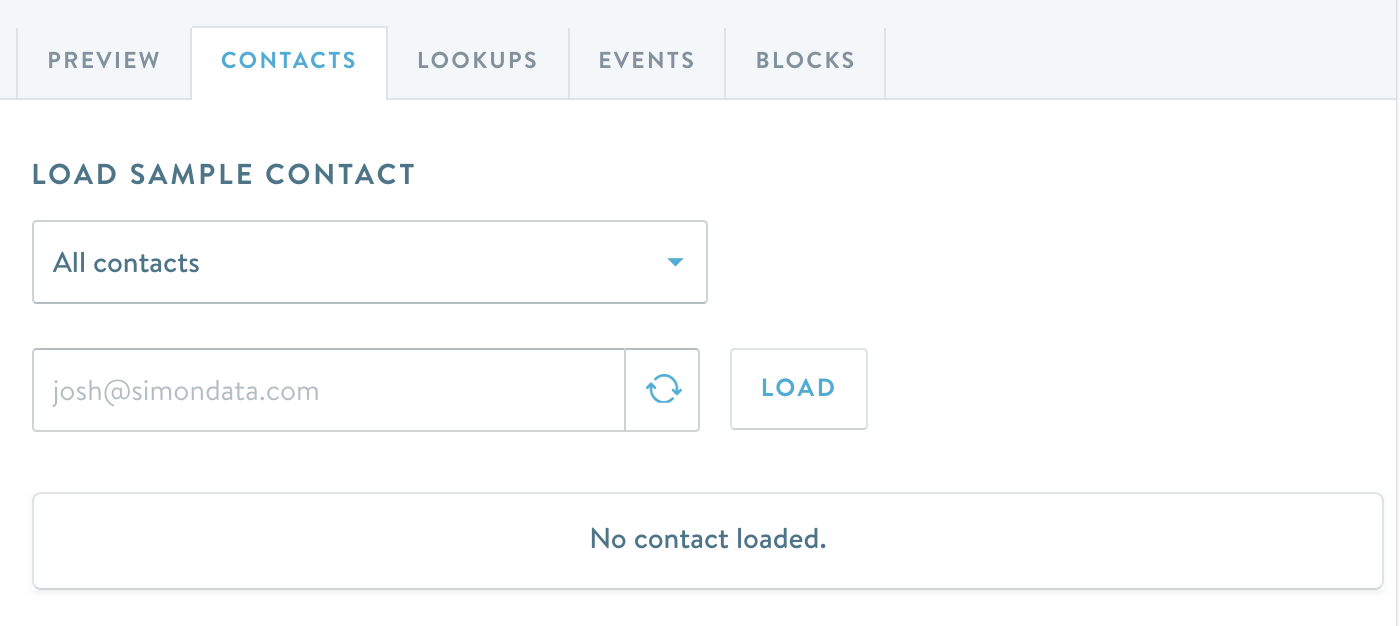
The preview tab will show the message as rendered for a random contact in your database. You can select a segment and sample contact for your template under Contacts. The contact that is selected there will be used for both the preview and test send. If you select a segment, the contact will be sampled from that segment.

You can pick a sample contact or segment on the Contacts tab.
Make sure you use default values when inserting dynamic contentWhen working with any dynamic content it is important that there will not be content missing from your message if certain contacts are missing a property that you are using. You can avoid this by adding checks for missing content and default values.
Lookup tables and event data
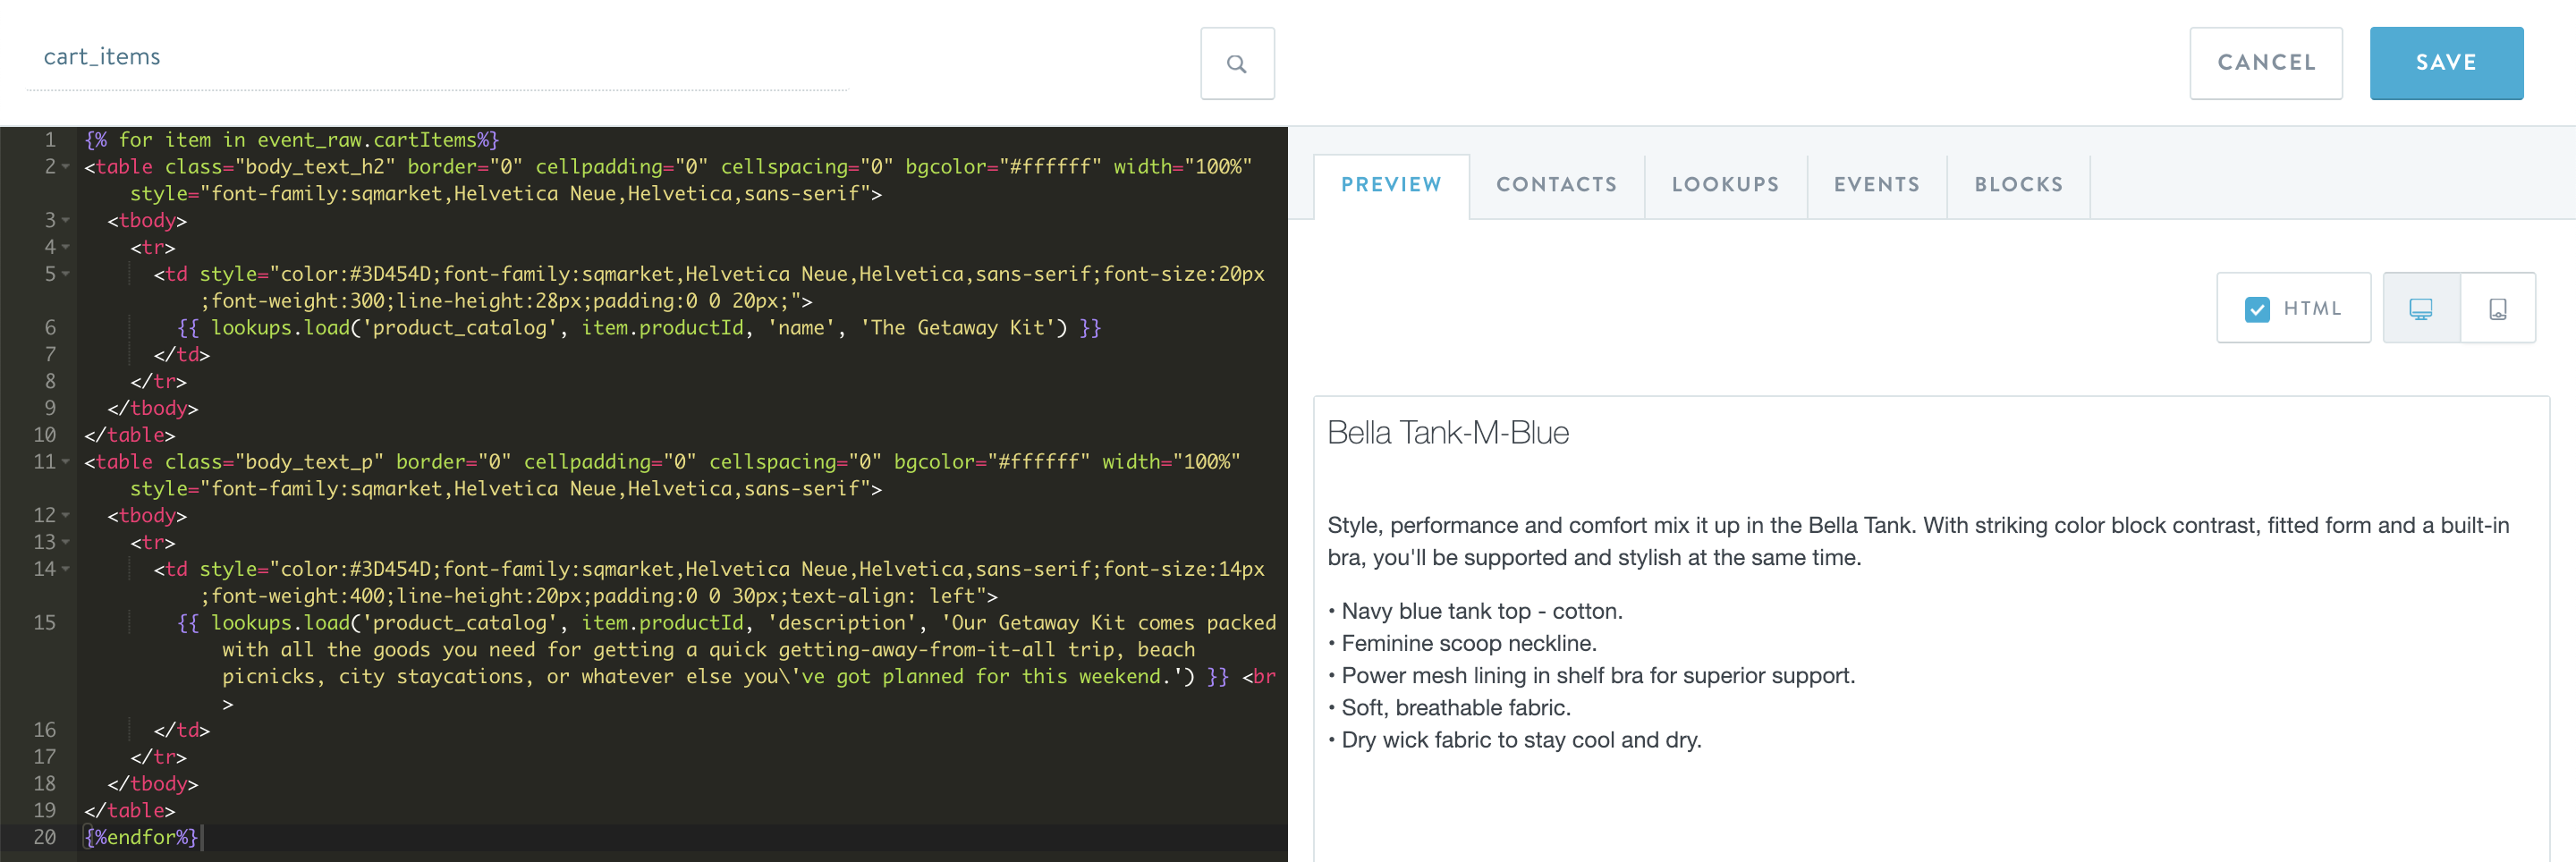
Both lookup tables and event data can be used in blocks, much in the same way as they are available for Custom Context and in templates. For example, a block could be set up to retrieve the items from a contact's abandoned cart and rendering them, as in the below screenshot. You can find more about how to work with lookup tables in Getting Started with Lookup Tables and about event data in Using Event Data from Triggers.

A block that retrieves each item from an abandoned cart and shows the description.
Picking the right triggerBecause different triggers can have different data fields available, it is important to use the same trigger in the block, template, and flow. You should also confirm in the block, template, and flow builder that the content renders correctly.
Inserting a block into a template
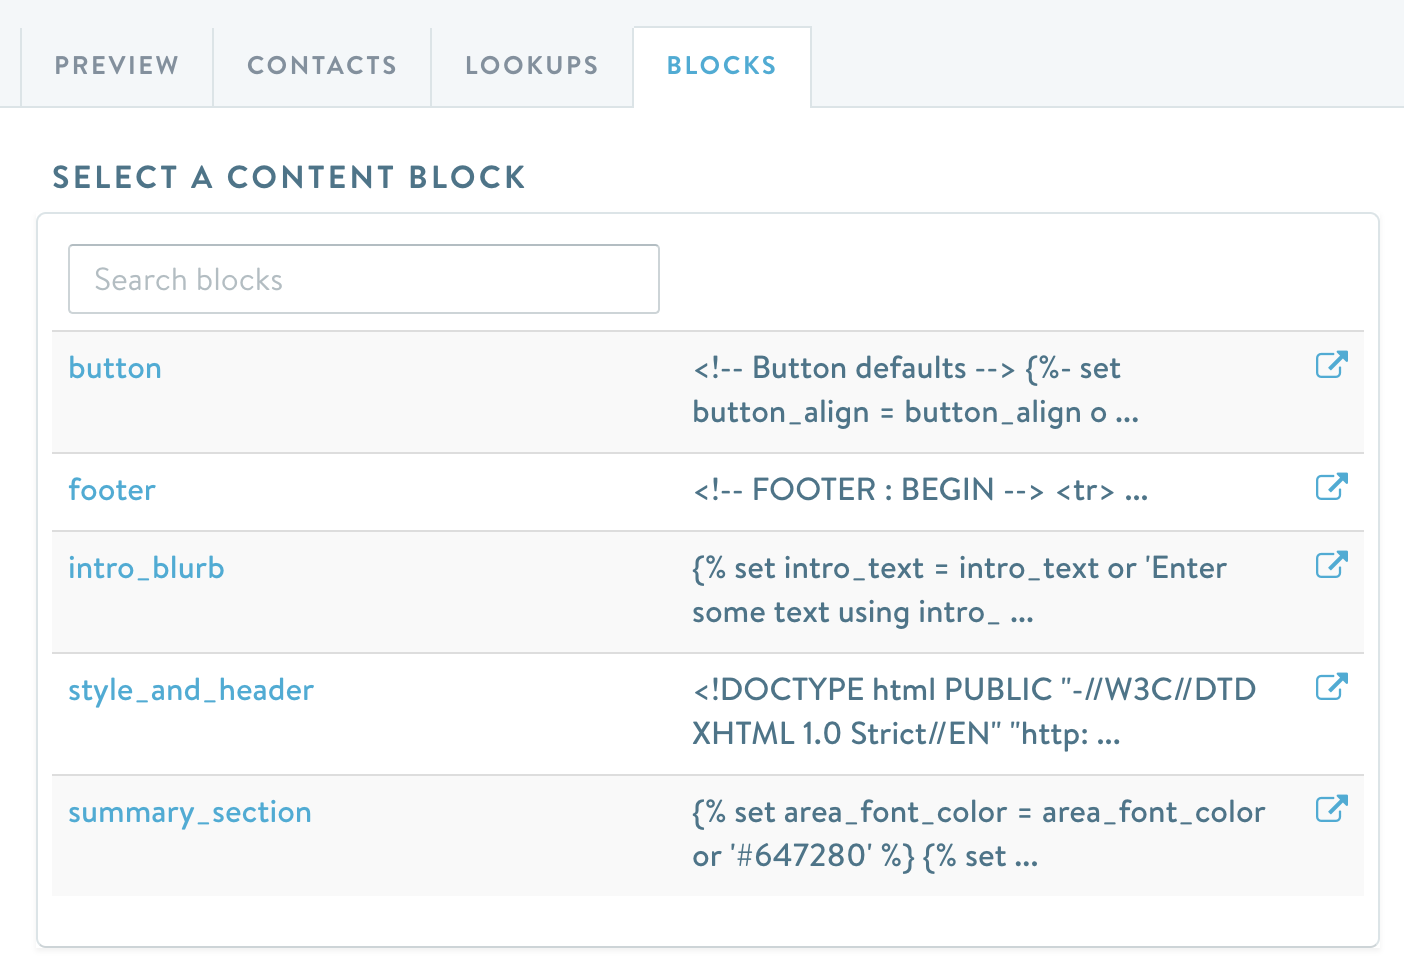
When setting up a template, you can access your saved blocks under the Blocks tab. Clicking on a block name will insert the code referencing it into the template. You can also open the block in a new tab by clicking on the link on the right side.

Clicking on a block name will insert it in the code editor.
Testing your blocksOnce you've set up a block, test it within a template to make sure it renders as intended. You can make use of sample contacts, events, batch preview, and test sends to validate that the block is configured correctly.
Using variables with a block
A variable can be used to store a value so that you can use it in different places. Blocks can make use of variables, both those that are defined within the block itself and those from within the template that references the block. In that respect, variables are a useful way to customize a block, by passing on information from the template to the block. The example below uses a block called button, and two variables within the template to define the button text and destination URL for that specific instance. A different template could make use of your 'button' block with a completely different link and text, so you would define those differently in that template.
Variable names must exactly match between a template and the block that references it. If you want to include a block multiple times with different content you can do so by defining the variables again between the different calls to the block. In our example with the button, you might have two different buttons in your template with a different text and link.

Using variables with a block to define the text and link.
{% set button_text = 'Click for more details' %}
{% set button_url = 'http://www.simondata.com' %}
{% include 'button' %}
Keeping your variables straightWhen defining variables, their location within the code matters. Always make sure to define them before you call the content block in your code. Also ensure that you are providing all the relevant variables, since they template will not automatically detect a variable that you forget to include. Also remember that variable names are case-sensitive and need to be an exact match. Finally, make sure that you don't repeat the variable names between different blocks in the same template. In our example below, we add the prefix 'button' to each variable to avoid conflicts with variables in other blocks, e.g. 'button_color'.
Variables can also be useful within a block itself, for instance to define default values for the situation where variables are not defined in the template. In our button example, there are a number of variables available to define exactly how it looks, but most templates will rely on the same values, so we have defined them as defaults inside the block itself. The below syntax ensures that the defaults would be overridden if the variable is defined in the template.
<!-- Button defaults -->
{%- set button_align = button_align or 'center' %}
{%- set button_link = button_link or 'http://simondata.com' %}
{%- set button_bgcolor = button_bgcolor or '#28ACD7' %}
{%- set button_font_size = button_font_size or 16 %}
{%- set button_color = button_color or '#ffffff' %}
{%- set button_padding = button_padding or '12px 18px 12px 18px' %}
{%- set button_border = button_border or 1 %}
{%- set button_text = button_text or 'I am a button. →' %}
{%- set button_font_family = button_font_family or 'Montserrat, sans-serif' %}
{%- set button_border_radius = button_border_radius or 3 %}
<table width="100%" border="0" cellspacing="0" cellpadding="0">
<tr>
<td>
<table border="0" cellspacing="0" cellpadding="0" align={{button_align}}>
<tr>
<td align="{{button_align}}" style="border-radius: {{button_border_radius}}px;" bgcolor="{{button_bgcolor}}">
<a href="{{button_link}}" target="_blank" style="font-size: {{button_font_size}}px; font-family: {{button_font_family}}; color:{{button_color}}; border-radius: {{button_border_radius}}px; padding: {{button_padding}}; border: {{button_border}}px solid {{button_bgcolor}}; display: inline-block;">{{button_text}}</a></td>
</tr>
</table>
</td>
</tr>
</table>Nested content blocks
The code for a block can contain another block. Any changes to underlying blocks will propagate in all places that they are referenced. Pay special attention to such scenarios in your testing and design when using nested blocks.
Updated 3 months ago
