
Make a Webhook Call
(Note, this tutorial above says you can have 5 domains max. We've since updated this to 15 and will update that video soon. Read more here.)
Webhook calls are blocks of code made up of a few, high-level sections:
- Your data's destination, typically another third-party application like a website or service, (Endpoint)
- Some information about who's calling and why (headers, call types, authentication)
- The actual data (payload)
Review terms to know here.
Webhooks are really flexible, but they have some rules that this guide explains.
Are you in the right guide?You can create a webhook call using a channel action, no code needed! However, if you want to test the webhook in your own API tool prior to using, or even use more complex payloads you'll need to be familiar with JSON, Microservice Tools (Postman, Pipedream, etc), and Response Codes.
We placed examples in the Simon Outbound Webhook Developer Guide for anyone who prefers a more technical approach, or you can access the same document from the link on the left.
Getting Started
- Find the webhook or API documentation for your destination, sometimes known as an API reference. You need to refer to their documentation throughout this process to know what to enter in each field.
- Find out what authentication source you need to use; do you need to know any credentials or logins for the application you're sending data to? This should be in your receiver's webhook documentation.
- You may also need to register your use of this endpoint with the receiver. Sometimes they have instructions for creating developer accounts or similar in order to receive the payload you'll send them later. Be sure to follow the instructions in their documentation.
- Allow the domain in Simon Integrations. You have to register domains with us before you can even make a Webhook Call.
- Think about what you need to see in your destination application; what Simon fields do you want to send over, what other information do you need your receiver to have? You'll choose all the related fields later in the payload section.
Ready? Let's go! From a Journey or Flow, choose Make a Webhook Call using Simon Webhooks:

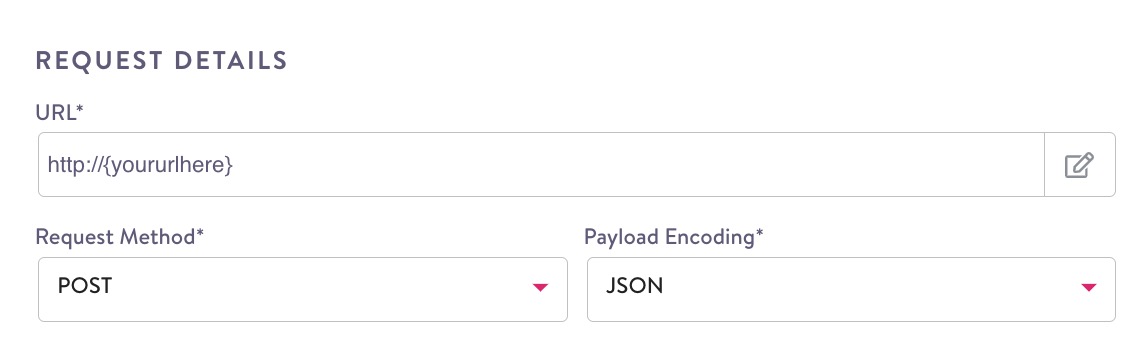
Webhook Request Details
You have two options for getting started:
- Start from Scratch and complete all the fields below or
- Copy from previous to pre-fill all the fields below except Authentication and Payload, based on an existing flow or journey. In the Payload section, you can also copy the payload from the same flow/journey or from a different one.
If you Start from Scratch, how you complete these fields depends on what endpoint you're sending data to. Be sure to refer to their webhook/API documentation also. You can usually find these resources on their homepage, or even by doing a quick Google search.
Authentication Not Copied from PreviousIf you copy from previous, authentication will not carry over. You always have to input the authentication from scratch.
URL
Enter the complete URL endpoint you are sending data to. (You need to refer to your destination's documentation to find this).
Query Strings Will be Re-EncodedThis is important to note because it's useful to know things may get modified to meet internet specifications, should you run into an error.
What you need to do up front is enter the URL exactly as you see it in the documentation you're referencing, no added spaces or characters, and we'll take care of the rest. If you get stuck, ask an engineering friend on your team for help or contact your Simon account manager.
Request Method
The request method tells your destination endpoint what you want done with the data. Most of the time you need to choosePOST here. Occasionally, you might choose PUT or PATCH. Refer to your endpoint's documentation for which of these methods to choose. In general, these choices do the following with your data:
POST: Creates a new resource. In other words, add the data to the location you're sending it to without deleting anything or replacing anything. I.E. adding a new customer name to a list.GET: Retrieves information from another source. Since you're sending your data out of Simon, you'll never use this in this action.PUT: Updates an existing resource entirely.PATCH: Updates an existing resource, partially.DELETE: Deletes resources.
Payload Encoding
You can choose JSON or Form-Encoded.
- JSON is the most common choice and is more flexible. It allows for batching, which means you can send larger amounts of data quicker.
- Form style parameters allow only single-item requests.
If you're new to webhook calls, we recommend you chooseJSON.
Headers
Headers provide additional information before the actual message you're sending with all your data. A header of Content-Type: application/json is added by default to let your receiver know what language we're speaking.
In rare cases, the documentation may indicate the API or webhook is notJSON , but something else like GraphQL. See Unique Cases for more help here.
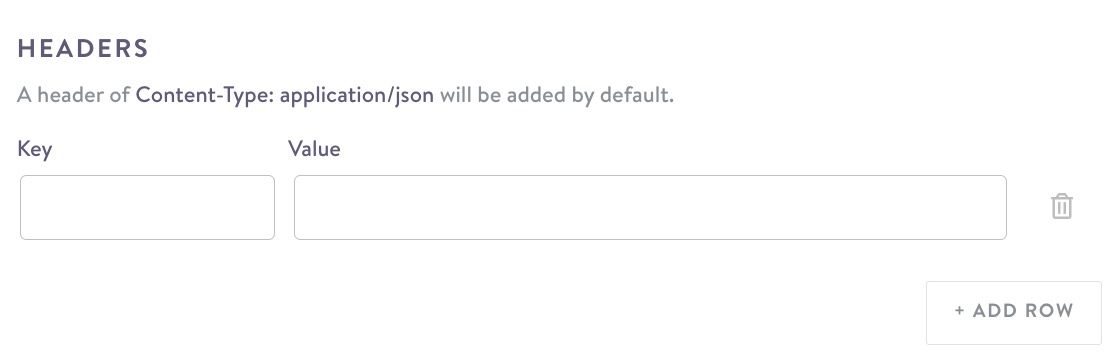
Headers aren't required, but if you do have additional headers to include, add them in key/value pairs.
Request Type (JSON Encoding)
If you'll be syncing large audiences to this endpoint we strongly encourage using a batch request type to prevent your flow sync from erroring.
To understand batch vs. single, think of carrying multiple grocery bags into your home. You might be able to carry 15 bags at a time but you risk dropping something breakable. If you carry one at a time, you have less chance of breaking something, but it'll take much longer with multiple trips (thus a greater chance for flow sync erroring). If you send in batch, any data that fails to send just doesn't end up on the other side; the entire batch won't fail just those items.
When you choose batch, you need to specify the number of records to send per request:
How Many Records Should I Allow Per Request?This answer is dependent on a lot of factors, including but not limited to the endpoint you're sending to and how many data fields you're sending. The more records you send, the longer it takes and the more chance you have your sync will error, etc.
We recommend a trial and error method; try sending a couple fields, with a max record of 100 or so per request, confirm your flow sends successfully, then keep increasing and trying more fields and more records per request until you find the number that seems to work best for your use case.
Be sure to also cross-reference the receiver's Webhook/API documentation in case they specify the max number of records per request they can allow.
Payload Structure (Batch Only)

Choose the structure based on the endpoint you're sending to. It should be specified in their documentation. Array sends each data field in its own context Object sends all the data points together per contact. If the endpoint you're sending to requires a Payload Key for an Object structure, include it here.
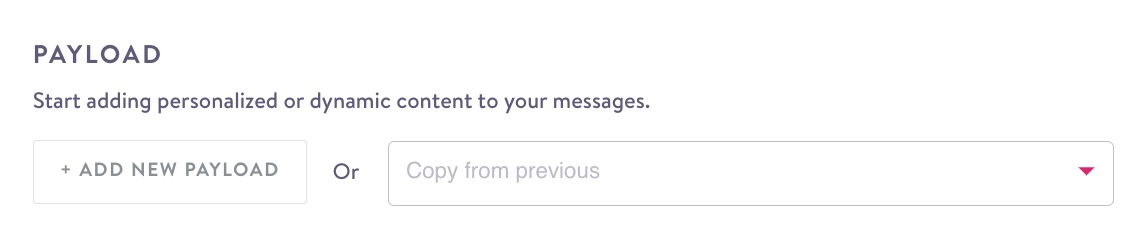
Payload
A webhook payload is the message you're sending to the destination endpoint, with all the data you need. To send them this data, you select name/value pairs and choose a date type (like number or boolean) so the data is translated and displayed to you on the other side. There are two ways to build your payload:
- From the drop down, you can use the same key/value pairs that you did in a previous flow or journey:
- Or we've also made it simple for you to choose fields you use in Simon and populate them in your payload:
- In a Journey, click Add New Payload then click the Edit icon. In a Flow, click Edit. Search for and click the field you want, just like in custom context. In a Journey, click the X to close; in a Flow, click update. This will populate the Value.
- Give the field a Name you can recognize.
- Type: By default all payload keys are sent as strings. You may specify the type by using the Type dropdown. Available types are:
| Type | Description |
|---|---|
| String | A string of characters |
| Boolean | True/False |
| Integer | Integral numbers (decimals are rounded to nearest whole number) |
| Float | If you need your payload to send decimals, choose this option |
| List | List of items |
| Dictionary | Attribute/Value pairs |
It's possible when you send your webhook call, one of the fields you've chose will have null data. If you don't want the presence of this null data to fail your call, and your flow, click the Bell icon.
Use the trash can icon to delete. You can include as many fields as you want, but keep in mind the more fields you include the longer your flow sync will take and the more chance you have the sync will error due to a timeout.
Advanced Options
- You can also paste your JSON payload directly into the value. See Test Webhook Payloads.
- If you need to include a nested JSON object, you can use dot notation. See Webhook Best Practices.
For use more specific payload examples and advanced needs see Webhook Payload Examples.
Authentication
APIs and Webhooks follow certain internet standards including authentication methods. These methods allow the endpoint you're sending to, to confirm your identity in different ways in order to receive your message.
The choice you make here is based on your receiver's requirements. Refer to their webhook/API documentation to see which of the following they require. The authentication method may be right in the webhook/API reference, or it could be in an authentication document on their site.
No Auth
With No Auth, you won't enter any logins or other credentials. The endpoint will receive messages from anyone.
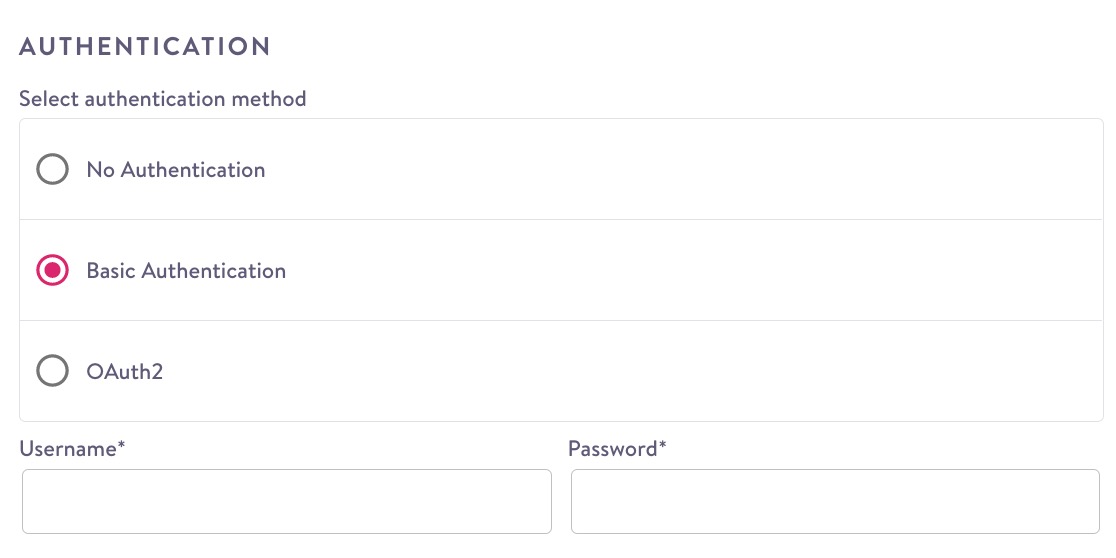
Basic Auth
With Basic Auth, provide your login Username and Password for the application you're sending your data to (not your Simon login).
OAuth2
With OAuth2, you have two choices for Grant Type, Client Credentials, and Password. The choice you make here is based on your receiver's requirements. Refer to their webhook/API documentation to see which they require.
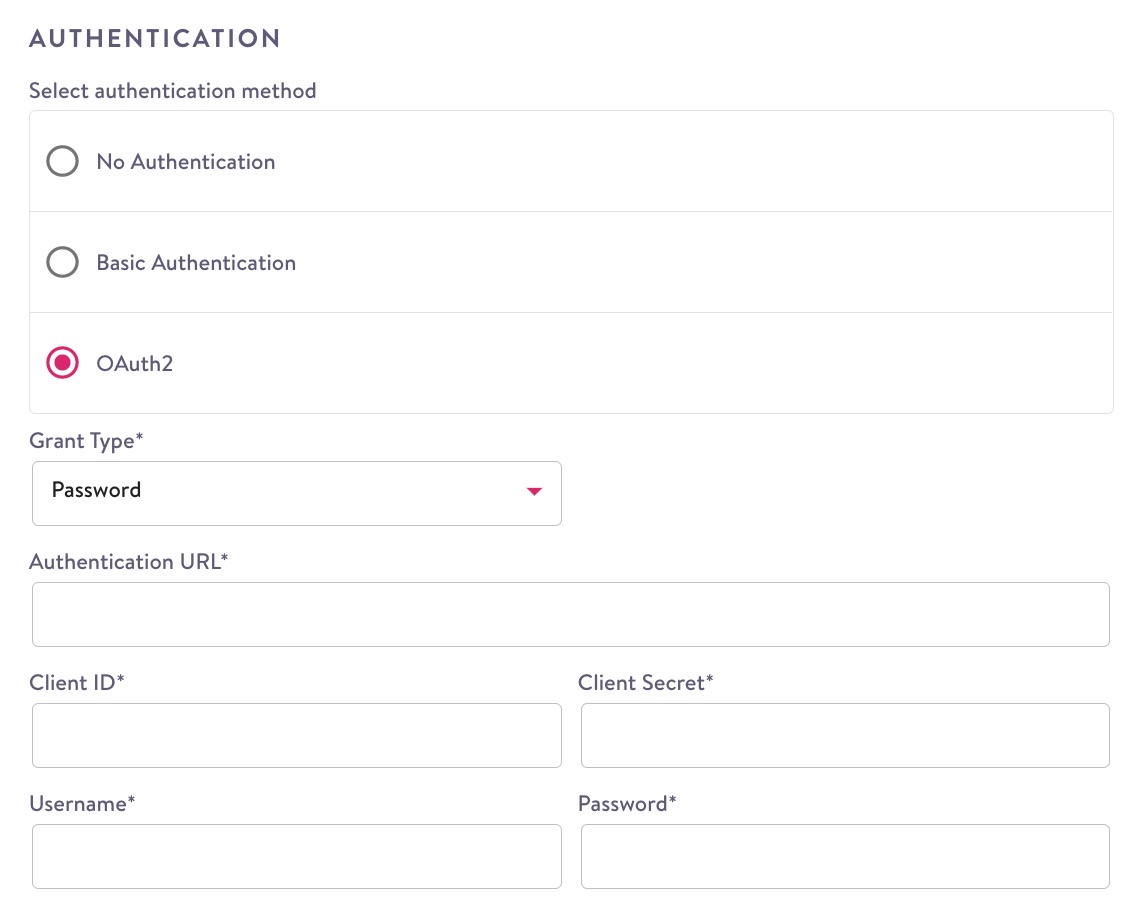
For both Client Credentials and Password, you need to provide:
Authentication URL: The standard authentication URL for the OAuth providerClient IdandClient Secret: These identify you with the application. The ID is known, but the secret is just that, meant to be kept secret, and it's usually a pretty lengthy string of characters. You should be able to get these from your destination application, in a dashboard, from your account rep, or something similar. Refer to their documentation for how/where to find these two credentials
If you choose Password, you also need to include your login Username and Password for the application you're sending your data to (not your Simon login)
Frequency Cap (Flows Only)
Let us know how often you want to send your message to its destination.

- Max Sends per Period Choose how many times (1-5, or Unlimited) to send the email within the period you choose.
- Period: Choose from a number of increments from 1-365 days, or choose N/A.
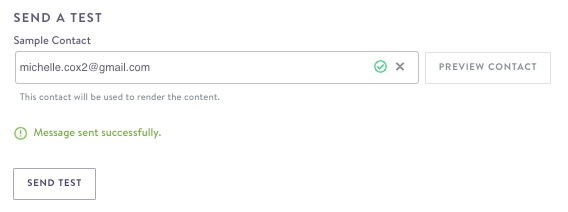
Send a Test (Optional)
You can optionally send a test using an email you specify as the contact, or using a randomly generated email.
Test sends are highly encouraged to ensure that webhook requests are configured properly. If there is an error in the HTTP response that will be displayed to you in the flow builder so you can quickly update.
- When running test sends, Simon will inject the test send recipient onto the sample payload under a key of
SD_TEST_SEND. - Click the arrows to shuffle to a different, random sample contact. The payload will be sent with their data.
You can also make live test calls if you're already experienced with webhook tools. This can be helpful especially if you're using more advanced values, or nested JSON objects, to help prevent flow sync errors. See Test Webhook Payloads.
Finish your Call
Click OK. From here, your payload is sent to the endpoint you specified as your Flow or Journey runs.
For details about retries, errors, etc. see Webhook Best Practices.
Updated 8 months ago